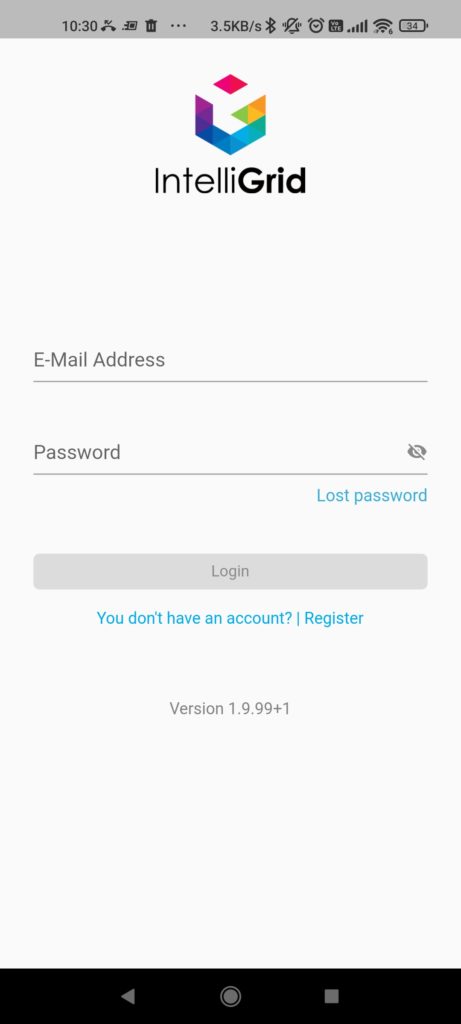
To install our IntelliGrid app for Android, you need to download the “App Tester” app first. The “App Tester” is our way of distributing new releases in a quick and efficient manner.
The overall steps are the following:
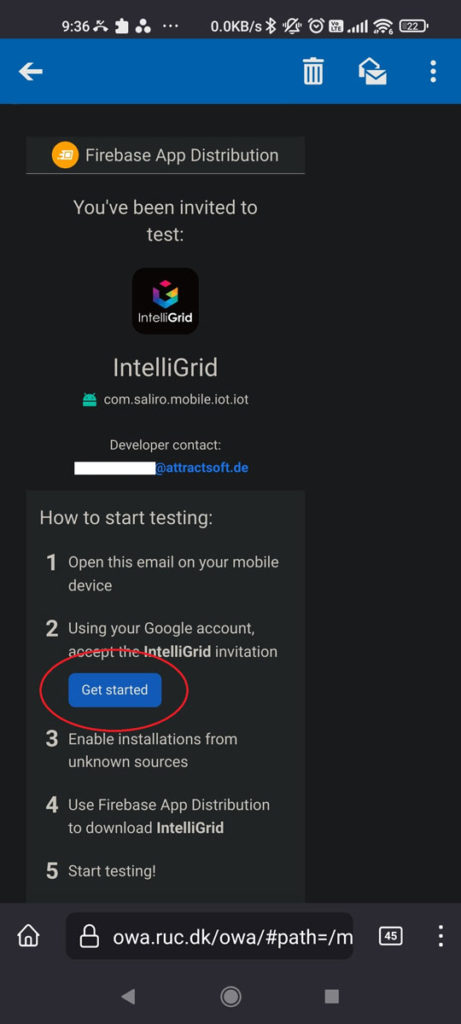
- Click the “Get Started” link that we sent you. It might be in the “spam” folder.
- Install the App Tester
- Accept that App Tester can install unknown apps. Our App Tester can only install apps and updates to the IntelliGrid app if you accept this via an email link.
- Update the IntelliGrid app and open it to get started on your green journey!
See the detailed steps below:
1. Open up your invite email and click “Get Started”
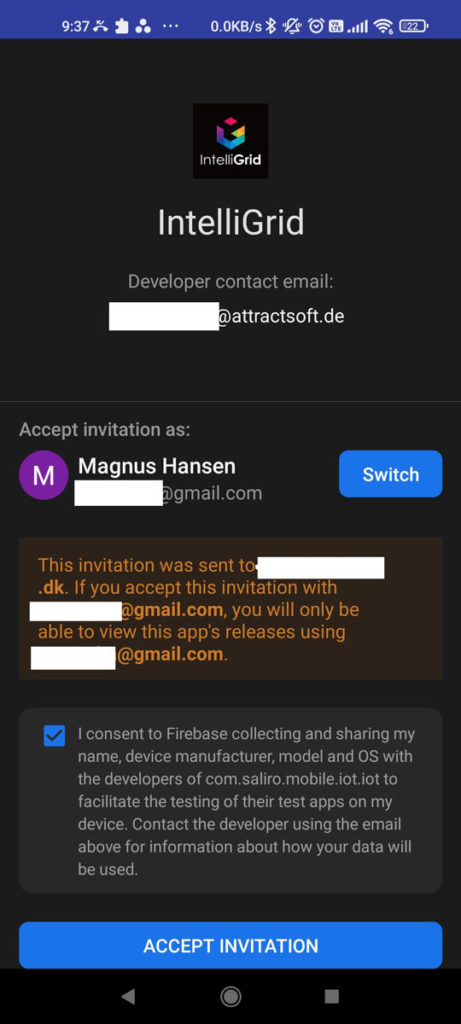
2. Select the Google user account who will be using the app
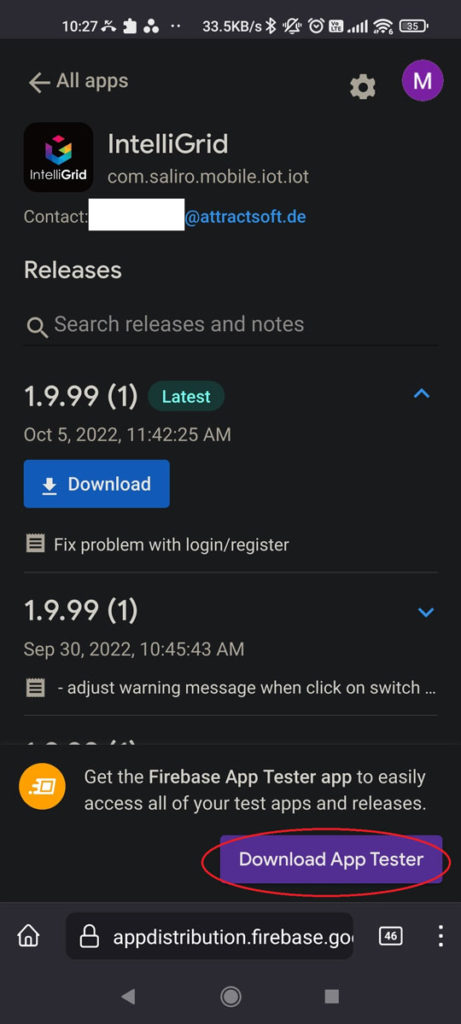
3. Select “Download App Tester” to download the installer app
4. Select “Download”
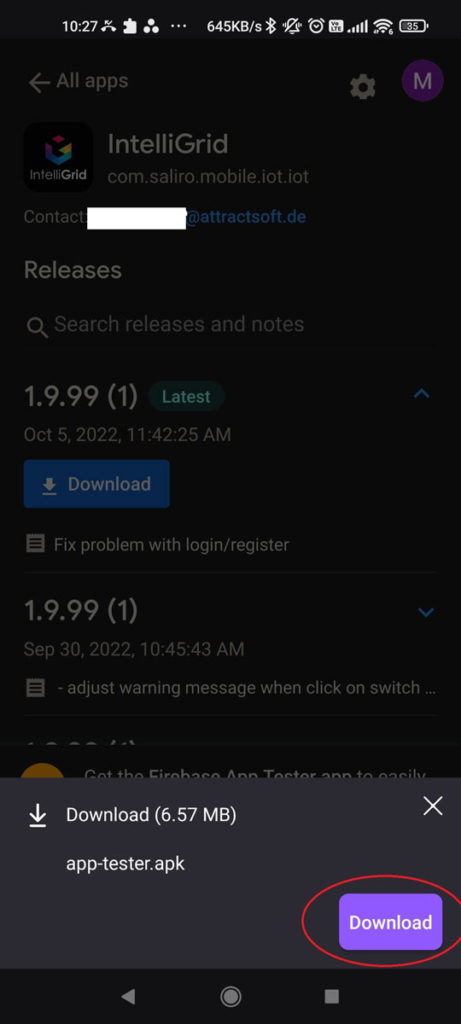
5. When downloaded, select “Open”
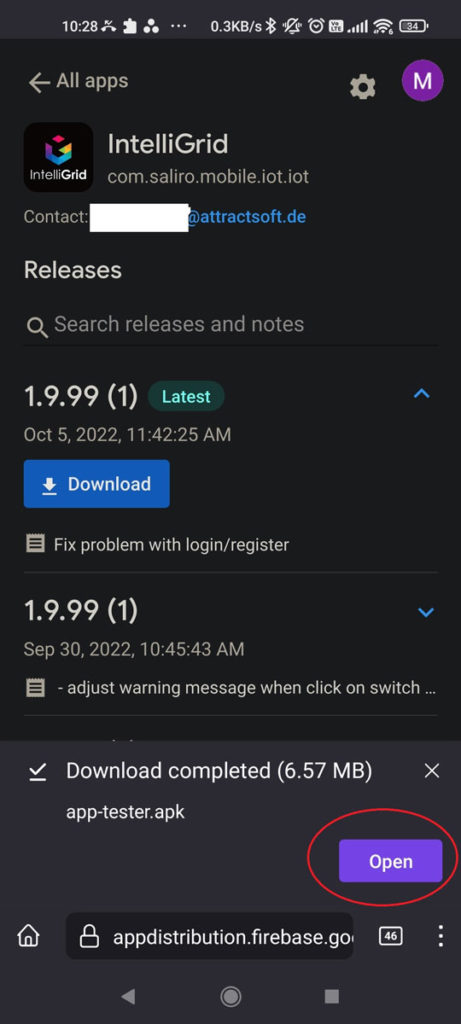
6. Select “Install”. This will begin the installation of our App Tester app
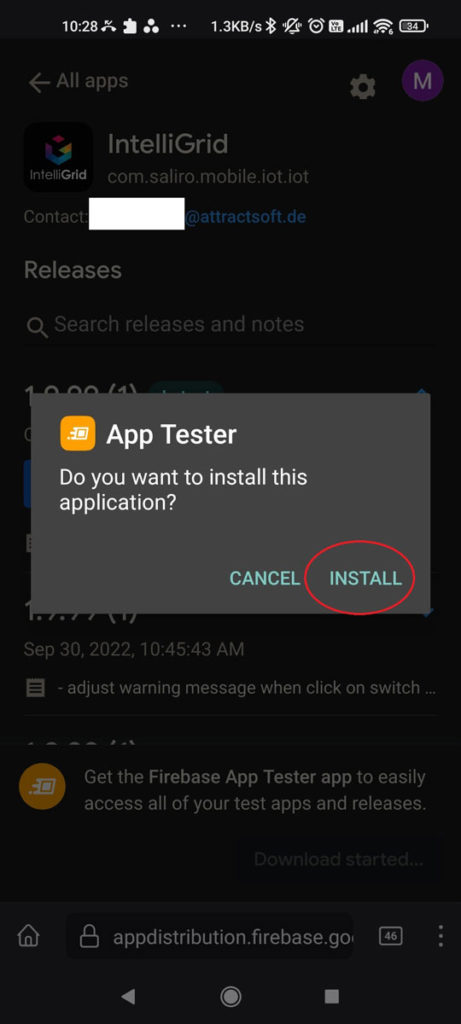
7. When the App Tester app has finished, click “Open”
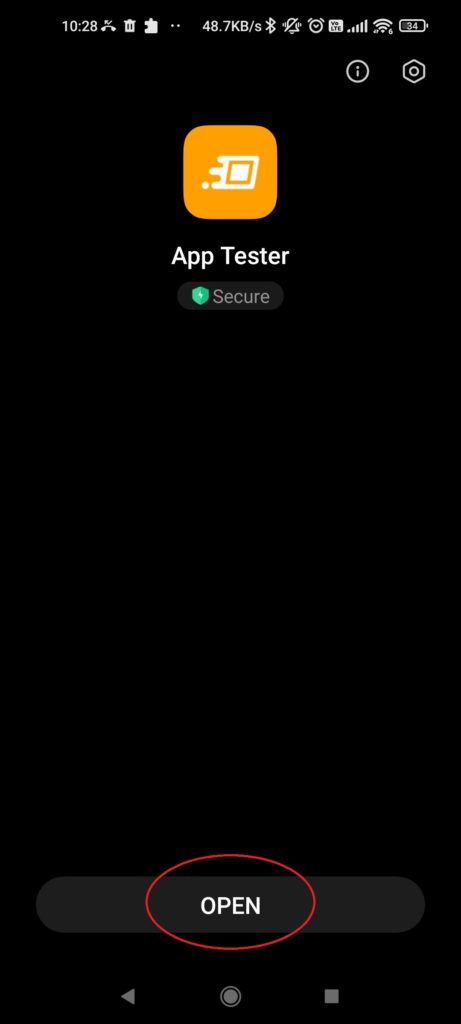
8. The App Tester is now installed! Click “Sign in with Google”
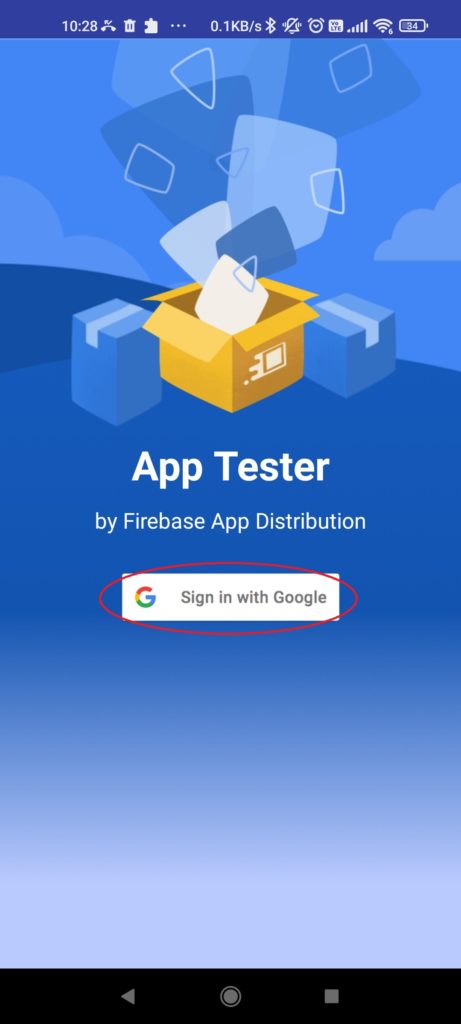
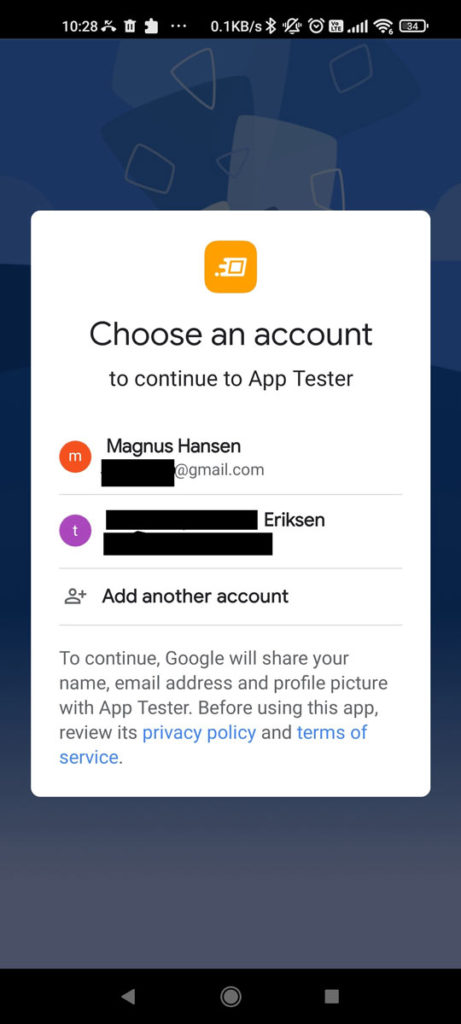
9. Select the account that you want to use.
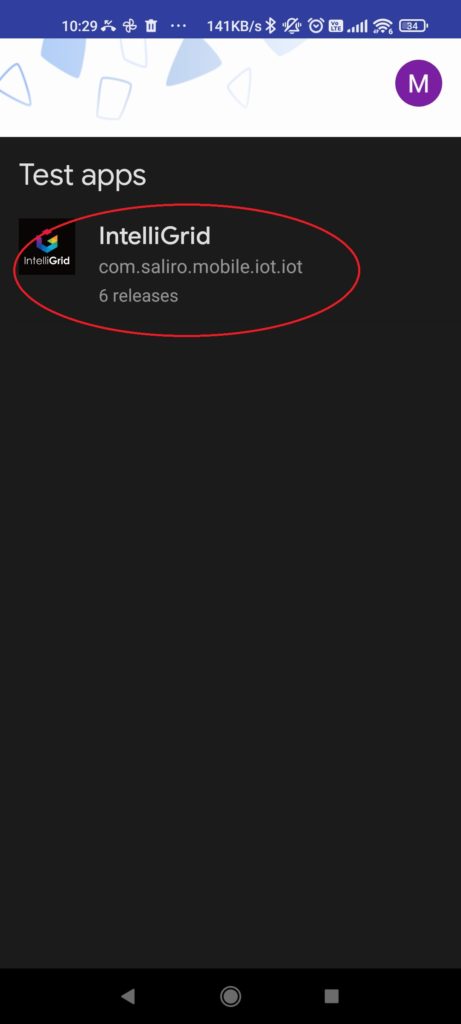
10. Select the “IntelliGrid” app.
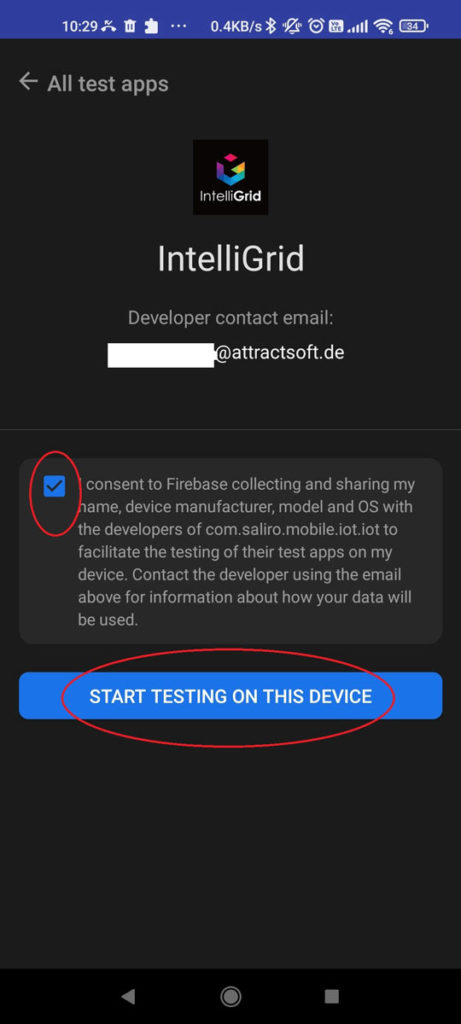
11. Make sure you consent to the Terms and Conditions and click “Start testing on this device”
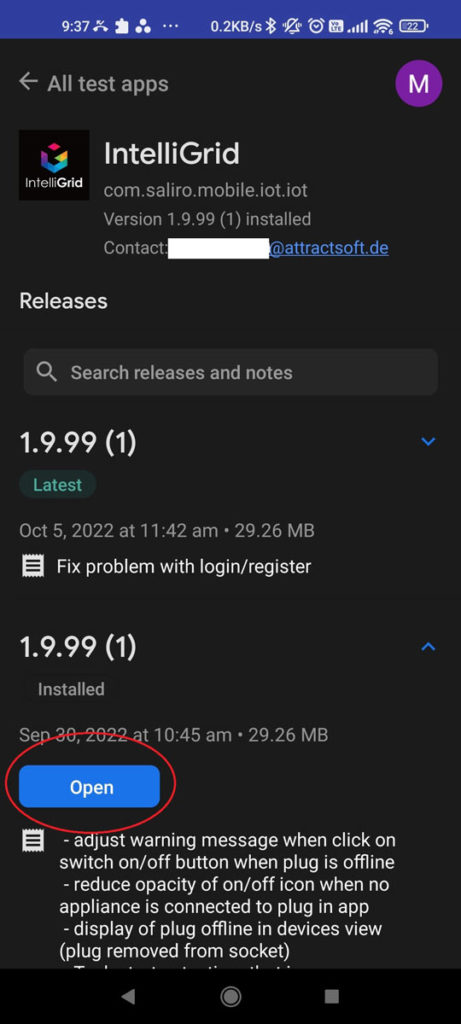
12. You will be sent to the App tester again where you have to select “Download” the latest release of IntelliGrid. You can also see the newest fixes for the app here.
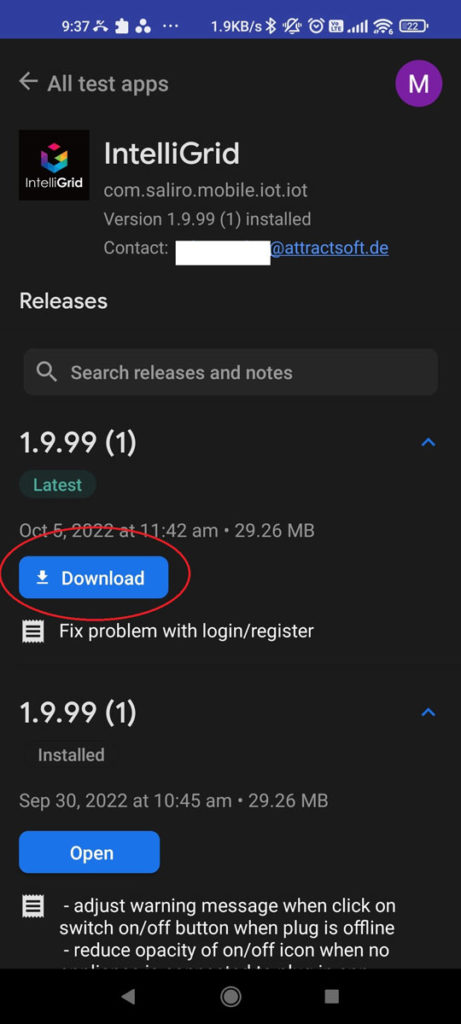
13. Click “Download” again.
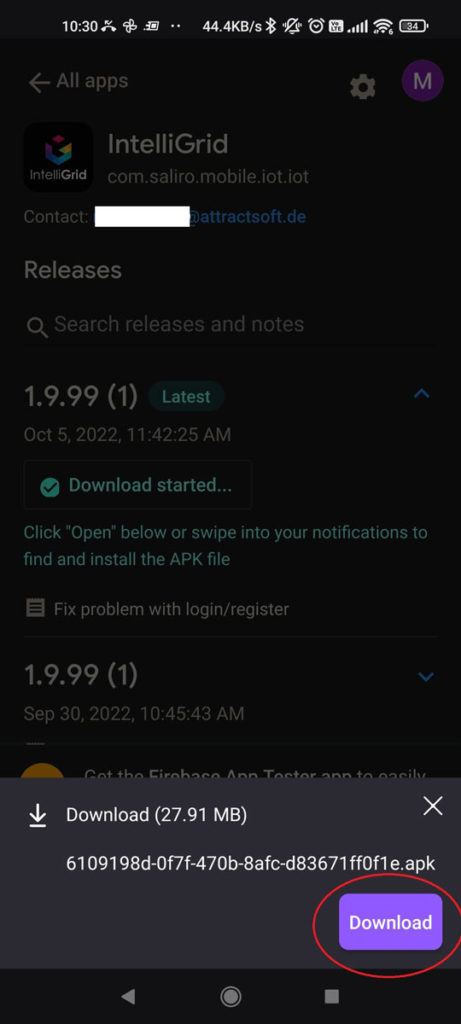
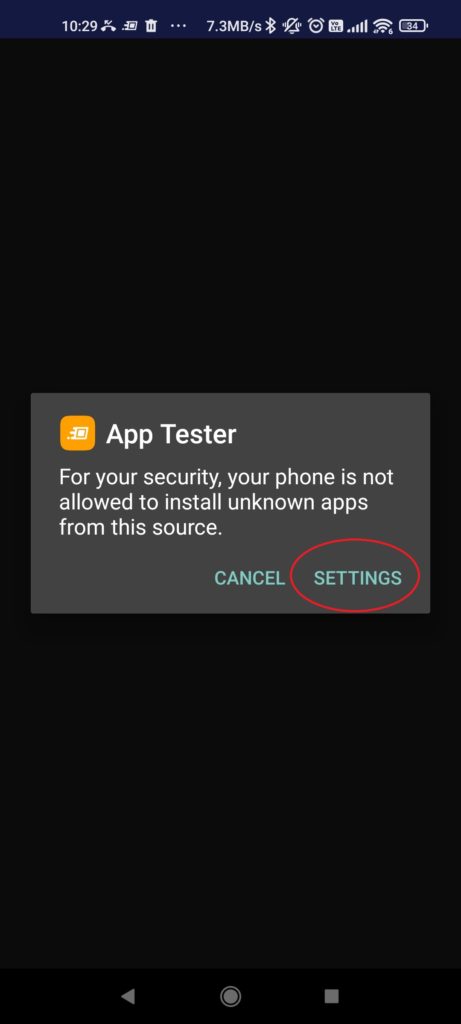
14. You will receive a security warning. You will have to click “Settings” to accept installing apps from the App Tester.
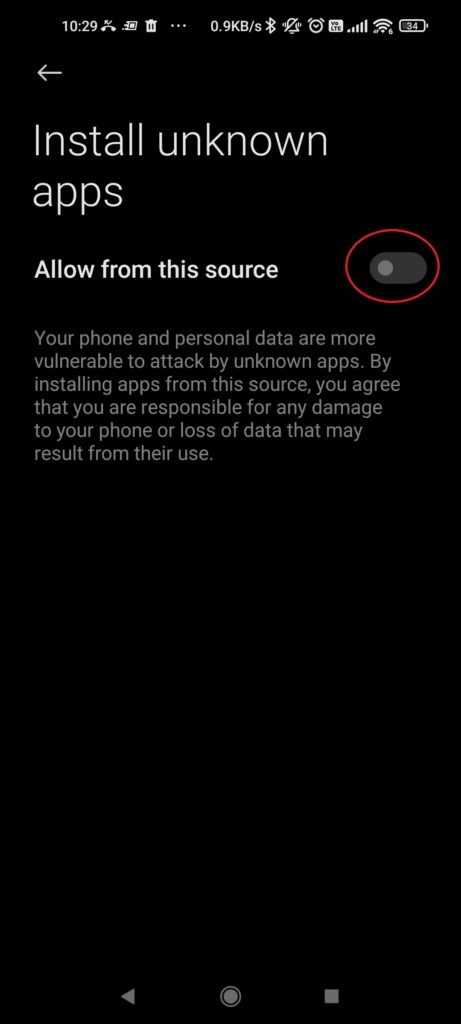
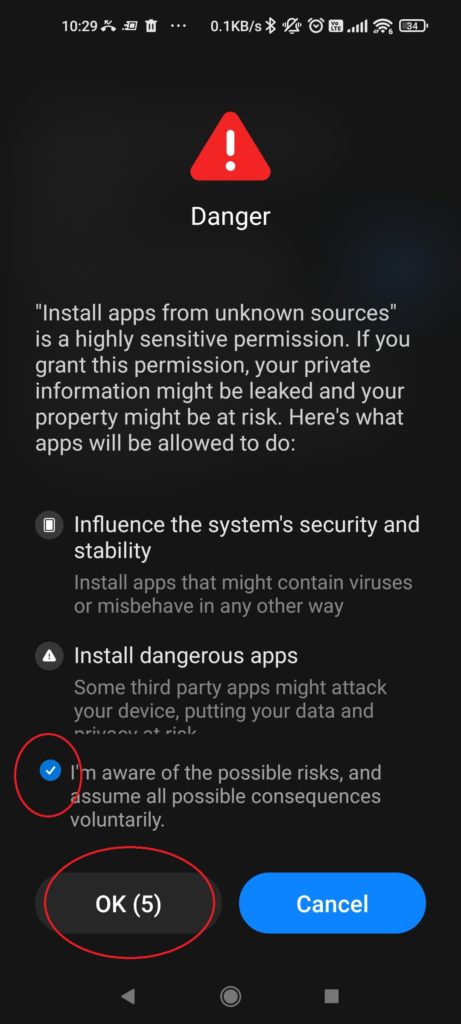
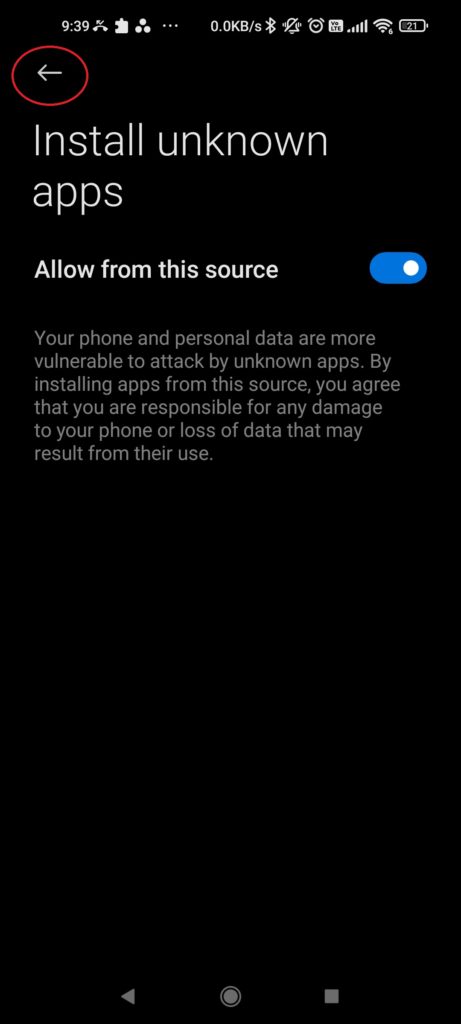
15. Please enable “Install unknown apps”. (This screen will look differently on different Android phones)
16. Make sure the check boxes are checked and wait a little until you can click “Ok”.
17. Click the “Back” arrow.
18. Now you can click “Open” and the IntelliGrid app will open!
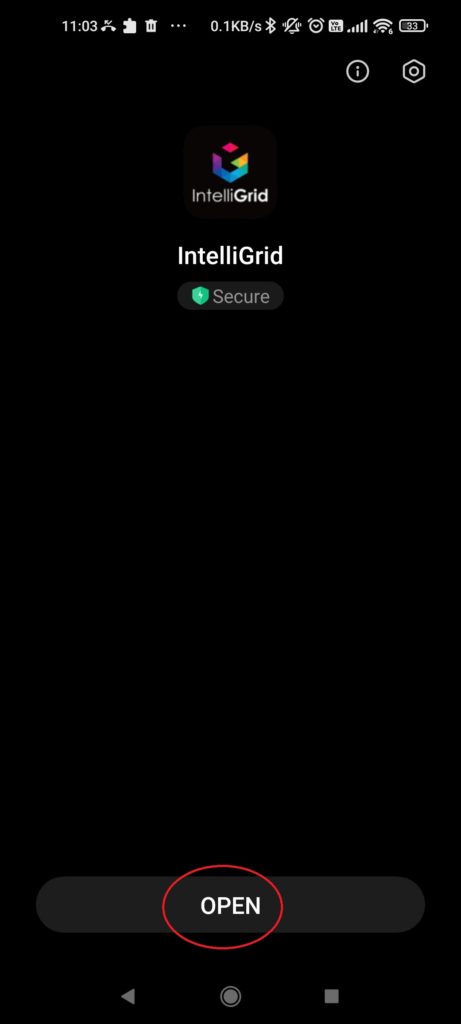
19. Click “Open” again. The IntelliGrid app is now available on your phone start screen.
20. Congratulations! You can now move on to creating an IntelliGrid Username in the app.
